Moringa
Moringa oleifera
Common names
English (Moringa); Spanish ()
Foods
Moringa leaves, seeds, herbal medicine
Quantity: 30 Plants | Frequency: Quarterly | Difficulty: Easy | Usefulness: Medium
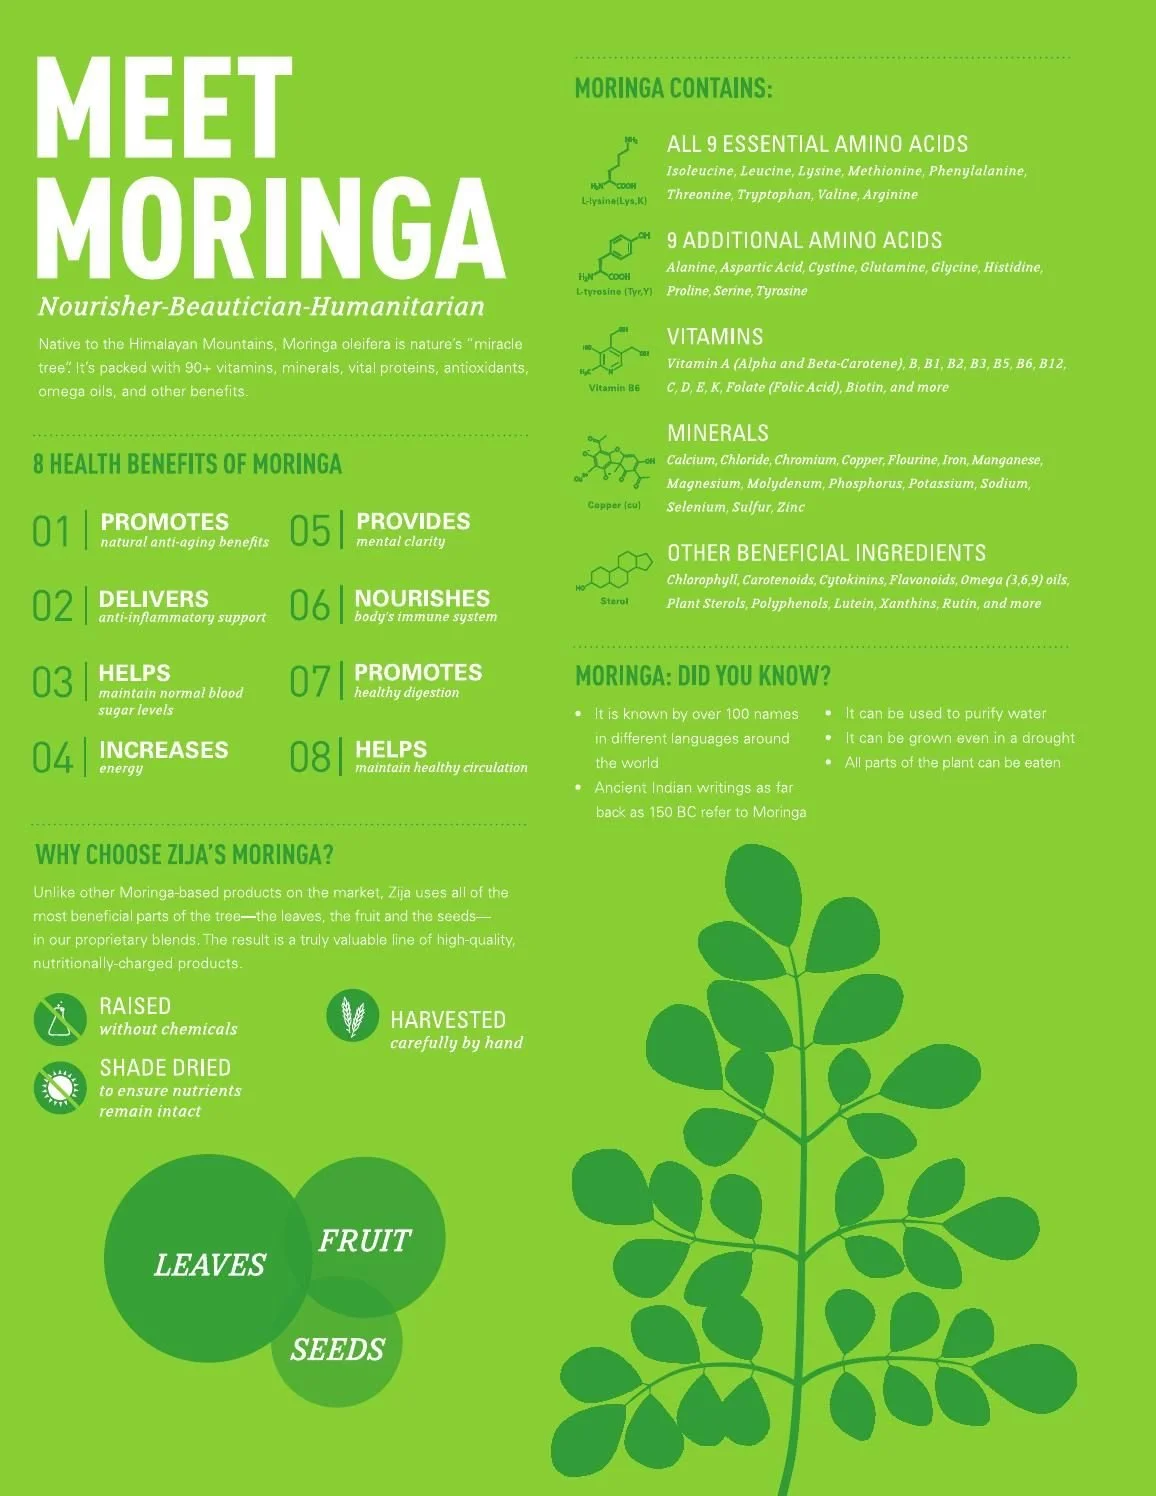
Moringa oleifera is a fast-growing, drought-resistant tree of the family Moringaceae, native to the Indian subcontinent. Common names include moringa, drumstick tree(from the long, slender, triangular seed-pods), horseradish tree (from the taste of the roots, which resembles horseradish), and ben oil tree or benzolive tree.
It is widely cultivated for its young seed pods and leaves, used as vegetables and for traditional herbal medicine. It is also used for water purification.
Moringa seeds are about the size of a large pea and have wings. The seeds don’t need sunlight in order to germinate. Here are some suggestions on successful germination that has worked well for us:
-
Soak the seeds for 24 hours in water; the seeds will use the amount of water it needs. Remove the seeds pat dry with a paper towel.
Put the seeds in a plastic sandwich bag and store in a warm, dark place like a drawer or cabinet. Germination times range from 3-14 days. Do not add extra water to the bag.
Check them every two days. Once the seeds have broken loose from the winged shell, you will notice two shoots protruding from the seed.
Do not let the shoots get too long as they may get fragile and break when handled. One of the shoots will have some ruffled growth at the extremity; this is the shoot that contains the first leaves (cotyledons) and should be the shoot exposed to the sun. Plant the seeds about ¾ inch beneath the soil surface (or in a peat moss starter) with the ruffled extremity to the sun. Sandy loamy soils work best. Use a pot that is at least 18 inches deep if this is the final home for the tree. Moringa loves the sun so make sure they get plenty of direct sun. Although the tree is drought tolerant, they may be watered daily, just don’t allow the roots to get soaked for extended periods of time. If you live in a particularly hot zone, don’t expose the baby plants to all day sun. Keep an eye on them, they will tell you if they are getting distressed from too much sun, water or lack of food.
It is a good idea to use pots to get the trees started since you have more control over the care of the tree. Critters will eat the Moringa starters if given the opportunity. We recommend that you let the potted plants grow at least eight weeks or longer before transplanting into the ground. When transplanting, try not to disturb the root system. Like many plants the roots are very vulnerable until they are established in the ground.
If using a plastic pot before transplanting to the ground, use a long thin blade to loosen the soil from the inside edges of the pot. Turn the band or pot upside down to allow the entire plant and soil to slide out of the container. This prevents disturbing the roots. If you are planting more than one tree, space the plants 7-10 feet apart for optimum access to the mature tree. The tree will branch out 3-4 feet from the trunk so this spacing will allow you to walk between trees and let the sunlight to do its job. Of course, if you want a windbreak, just plant them all at one-foot intervals, as they do in Africa and India. Moringa is like any plant that appreciates plant food and fertilizers and an ample supply of water.
The leaves have 7 times more vitamin C than oranges and 15 times more potassium than bananas. It also has calcium, protein, iron, and amino acids, which help your body heal and build muscle. It's also packed with antioxidants, substances that can protect cells from damage and may boost your immune system.
-
Clean the moringa leaves by picking the leaves and discarding the stems. Wash the leaves under running water to eliminate any mud or chemicals. Also, drain out the excess water and allow them to dry out completely
Then dry roast the moringa leaves on a pan on low flame for 5-6 minutes until they become crisp. Turn off the flame.
Once moringa leaves have dried out, allow them to cool down completely. Then, crush it into a fine powder with your hands or use a blender. You can also sieve it to get rid of thick stems.
Moringa powder is ready. Store dry Moringa powder in an airtight container for up to a year.
Various parts of moringa are edible:
Immature seed pods, called "drumsticks"
Leaves
Mature seeds
Oil pressed from seeds
Flowers
Roots
Sources
https://moringafarms.com/growing-moringa/
https://www.indianveggiedelight.com/moringa-makhana-recipe/
https://en.wikipedia.org/wiki/Moringa_oleifera


